Whether it’s for the regular file transferring or flashing new firmware, Qualcomm USB drivers are an absolute must. Without these, you’ll only be able to charge your phone when you connect it to your pc.
What good is that, right? You’ve your charger for that purpose.
That’s why in this article we’ll discuss everything there is to know about it. From why you need these drivers to how to install Qualcomm USB drivers, we’ll explain everything.
So, sit back and relax with a cup of coffee as we take you on this amazing journey-

What is Qualcomm USB Driver?
You see Qualcomm USB drivers are a must for anyone who wants to connect their mobile phone to their PC. Well, not for any smartphone. Phones that have a Snapdragon only require this USB driver.
However, you’ll have to keep in mind that most smartphones nowadays have a Qualcomm Snapdragon chipset. So, one way or another you have to get these installed on your PC.
| Name | Upload drive Name | File size | Download Link |
| Qualcomm USB driver | Mediafire Drive | Size 9.50 MB | Mirror Link |
Why Do You Need Qualcomm USB Drivers?
Every day we get people getting precious phones bricked due to incompatible software. The thing is this is quite a common issue for average people.
But in such situations, if you don’t have a Qualcomm USB driver installed on your PC, you won’t be able to use recovery tools. And that includes Odin, Mi Flash to every software there is.
The bottom line is if you want to get your phone fixed, you need to have Qualcomm USB drivers. Because at the end of the day, your PC will need these drivers no matter what.
If you want, you can download spd drive and well-know here. SPD driver
How to Install Qualcomm USB Drivers?
Installing Qualcomm USB drivers is a piece of cake if you know what you’re doing. Now, before we start you should tell you a few things.
It’s that you don’t need to worry about your Windows version as these drivers can be installed on any Windows from XP to the latest 10.
With that being said, let’s talk about the methods. Here we’ll mainly discuss 2 methods, one is the direct method and the other one is the manual method.
But don’t worry as we’ll explain both methods with step-by-step instructions for your convenience. Let’s start-
Method 1: Direct Method
The first method is the direct method. And trust me when I say this, this method couldn’t get any easier. You’ll know what we mean when you see it for yourself-
Step 1: Download and Extract the Driver
To start the process, you’ll have to download the right(32 or 64 bit) Qualcomm driver. Now there are tons of drivers you’ll find online. So, make sure you get your files from a trusted source if you don’t want unwanted guests on your PC.
After you’ve downloaded the driver, you need to extract it. Although it depends on the provider whether he made it into a zip file or not. Whatever the case is, let’s move on to the installation.
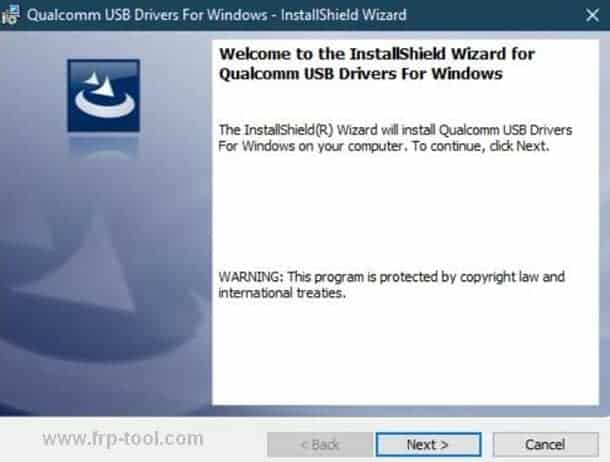
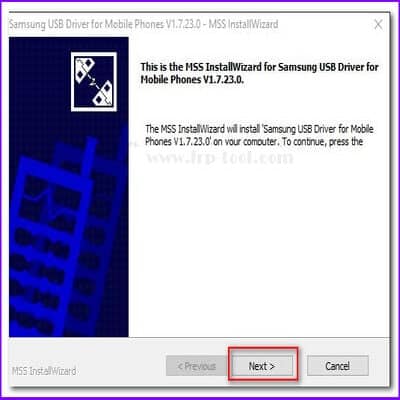
Step 2: Install the Driver
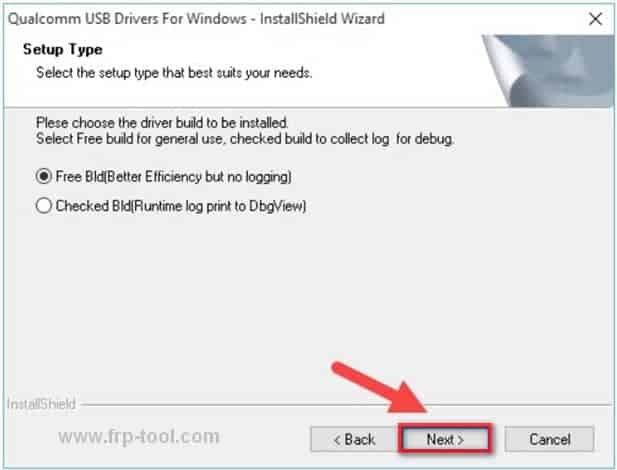
After you’ve extracted the driver, open the file to get it installed. Now, when you open the installation wizard, you’ll likely see a page with 2 options; Free BId and Checked BId.
Select the Free BId option, and click next.
This is where the installation wizard will ask for your permission. In Layman’s terms, it’s like basic paperwork. So, agree to those policies and move on to the next step.

Step 3: Finish the Installation
Finally, it’s time to finish the installation process. After you’re done with all the formalities, simply click on the Install button and it’ll do everything on its own.
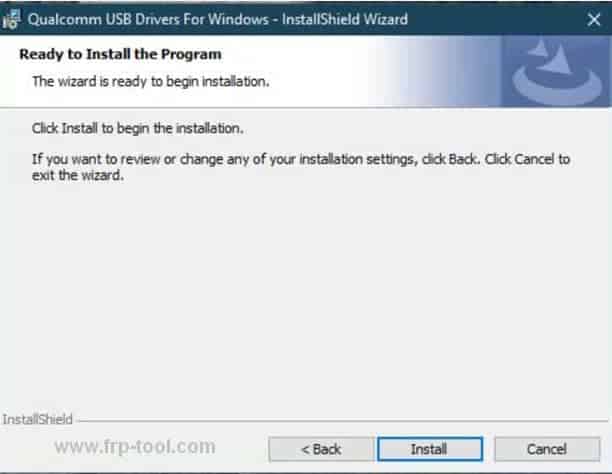
After a few seconds, you’ll be all done with the process. Click on the Finish button and that’s it.

Method 2: Manual Method
Unlike the direct method, you’re going to have to do some work in the manual method. However, worry not as we’ll guide you throughout the entire process with our instructions-
Step 1: Extract and Install the Drivers
First, you’ll have to extract the Qualcomm drivers you downloaded before. After you’re done with that, you need to ADB and Minimal Fastboot drivers on your PC.
Now, why do you need these extra drivers? Well, it’s because without these drivers the computer won’t be able to recognize the device.
Step 2: Boot into EDL or Download Mode
Before you go into EDL mode, you’ll have to enable the USB Debugging on your smartphone. The process is simple-
- Go to Settings, then select About Phone. Now, you’ll have to tap on the Build Number 7 times. Doing that will enable the USB Debugging in a jiffy.
- Now, you’ll have to return to Then go to Developer Options and find the USB Debugging to enable it.
That’s all the preparation you need for the smartphone. Finally, boot the device into EDL Mode.
Step 3: Go to Windows Command Prompt
The Command Prompt works start now. So, start getting it ready by pressing the right-click button of the mouse and the shift button together.

Once that’s done, be ensured that the device is connected by typing the following command-
ADB devices
If you notice a serial code on the screen, it means you did everything right and the device is connected. But that’s not the whole job as you’ll still have to get into Download Mode.
To do so, enter the following command-
ADB reboot edl
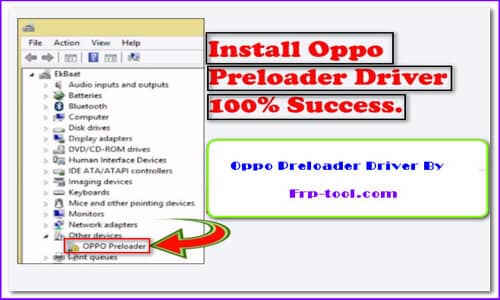
Step 4: Locate the Device
This is basically the start of the installation process. But you’ll have to go through the proper locations to at least locate the device.
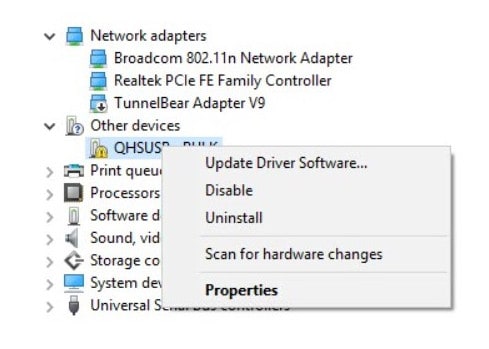
So, first, go to the Control Panel and then select the Device Manager. Here in the Other devices section, you’ll see your device but only to find it’s not properly installed.
Step 5: Browse the Driver
You’ve found your device and identified the problem. What’s left is to fix the problem. So, start by right-clicking on the device name and selecting Update Driver Software.
This is where a pop-up will come on the screen asking you to browse the driver software. Now, we don’t know where you stored the file. But for default settings, it should be in the Downloads folder.

Step 6: Install the driver
After you’ve successfully located the driver, you can move on to the installation process. However, when installing such drivers, make sure they’re unzipped. Otherwise, you won’t even find the file.
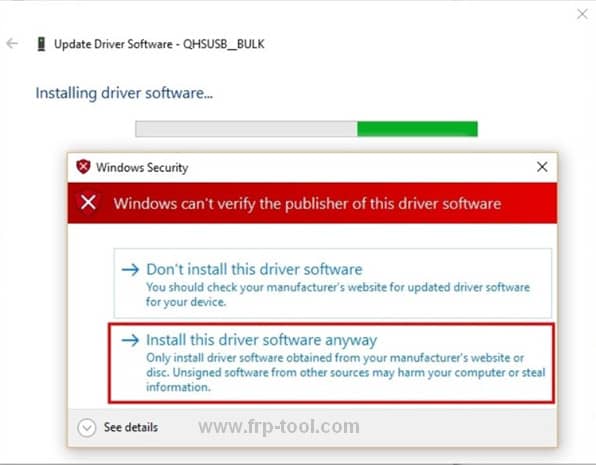
Anyway, once you select the driver file, the installation should start on its own without any hassle. However, sometimes it might ask for some permissions
But don’t hesitate to click on the Install this driver software anyway as it’ll only delay the process. And at the end of the day, you do need these drivers, right?
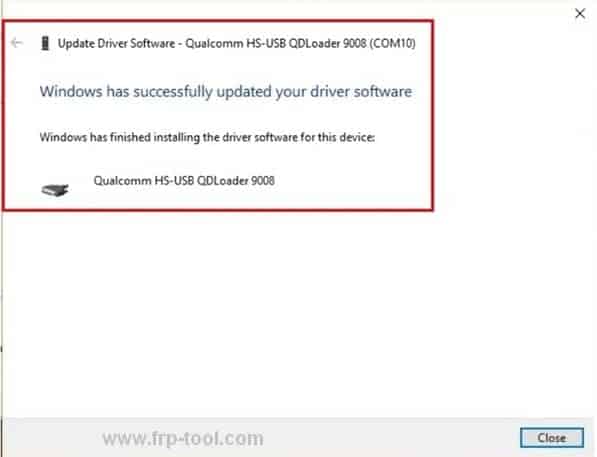
Step 7: Finish the Installation
Well, the installation is almost over. Finally, select the Close button and you’ll be done with it. It couldn’t get any easier, right?
Verdict
So, folks, that’s all we had on the Qualcomm USB Driver installation guide. We know the process might seem a bit complicated for the newbies. But our suggestion would be to go through the steps with full concentration.
We’re sure that after a few tries, you’ll get it right no matter what. Nonetheless, if you think we’ve missed anything, please do let us know in the comment section. Good luck!